
In this guide
Bleeding a radiator means releasing trapped air so hot water can circulate properly and heat the radiator evenly1. It is one of the few central heating jobs a householder can do without a professional, and it usually takes only a few minutes per radiator1. The tools are minimal: a radiator bleed key, a cloth or towel, and a container to catch drips3.
The trigger is almost always performance rather than a schedule. A radiator that is warm at the bottom but cold at the top is the classic sign of trapped air, and the same applies to gurgling, bubbling or clanging noises in the pipes, radiators that are slow to warm up, and boiler pressure that keeps falling1. Once air is removed, the boiler pressure gauge should read between 1 and 1.5 bar on a cold system, and the filling loop is used to top up if bleeding has dropped it below that6.
What bleeding does not do is fix sludge. If a radiator is hot at the top and cold at the bottom, the problem is debris in the system rather than air, and a power flush is the usual remedy1. Bleeding also does not remove water: it lets air out, which is a different job from flushing a system5.
What bleeding a radiator does, and why trapped air matters
A radiator is a hydronic heat emitter: warm water flows through the body and heat transfers to the room, mainly by convection and radiation8. Air in that circuit breaks the process. Because air is lighter than water it rises and becomes stuck, so the hot water can only reach about halfway up the radiator5. The visible result is a radiator that heats in parts, warms slowly, or stays completely cold6.
The consequences go beyond one cold room. A maker's guidance notes that the oxygen in trapped air causes corrosion, which can result in leaking and debris in the radiators6. That is a slow, cumulative problem rather than an immediate failure, but it is the reason bleeding is treated as routine maintenance rather than a one-off fix. Trapped air also makes the system work harder for the same output, which shows up in energy consumption6.
For a household's energy independence, bleeding is a small but genuine lever. It is work a resident can do without calling anyone out, using a tool that costs very little, and it restores the radiator to the performance it was specified for. What it does not change is the underlying dependence: the heat still comes from a boiler burning gas, or from a heat pump drawing electricity, and the system still relies on a supplier and, in most homes, the gas grid. Bleeding keeps the emitter side of that system honest; it does not alter where the energy comes from.
It is also worth separating bleeding from flushing. Bleeding your radiators is not the same as flushing a system: you are not removing the water, just letting the air out5. A power flush circulates cleaning fluid to shift sludge, and it is a different job with a different purpose.
Signs a radiator needs bleeding: cold tops, gurgling and uneven heat
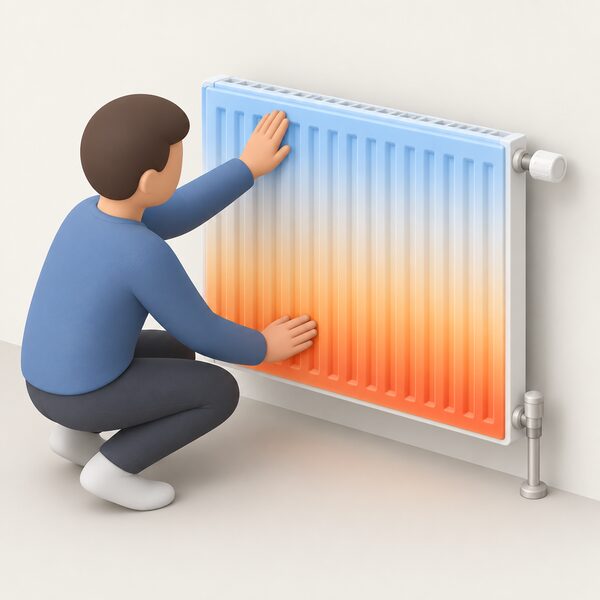
The single most reliable indicator is temperature distribution. If the top of the radiator is cool, or much colder than the bottom, while the heating is on, it is a sign the radiator needs bleeding3. Maker guidance puts it the same way: the clearest sign is a radiator that is warm at the bottom but cold at the top9. Independent guidance adds that a radiator warm at the base but cooler at the top is a sure sign10.
Noise is the second cluster of symptoms. Clanging, banging or gurgling noises in the pipe after the system has been idle point to air that needs releasing11. Gurgling alone is enough of a prompt to bleed a radiator12. Rattling or other unfamiliar noises from the heating pipes are treated the same way by one maker6.
The third cluster is performance and cost. Radiators that are not warming up as much as they should, or that take longer than usual to warm up, are both listed as signs12. One independent guide goes further and includes increased heating bills and damp or mouldy patches on walls among the indicators that radiators are not heating up properly4. A slow warm-up or a cold spot is also how one maker frames it5.
There is a simple test that needs no tools. Press your hand against the radiator at the bottom, then slide it upwards towards the top. If it gets cooler as you slide upwards, there is air in it, because hot water would be the same temperature throughout2. A hand on each corner to assess even heating is the same method recommended in winter maintenance advice13.
Tools you need: radiator key, cloth and a container
The kit is small and inexpensive. Independent guidance lists a radiator bleed key, a spare cloth or towel, and a container to catch any water that comes out3. Another independent guide adds a flat-head screwdriver as an alternative to the key, plus a cloth, an old towel and a bowl or other container4. A maker's list is the same in substance: a radiator bleed key, a cloth or old towel, and a small container or mug9.
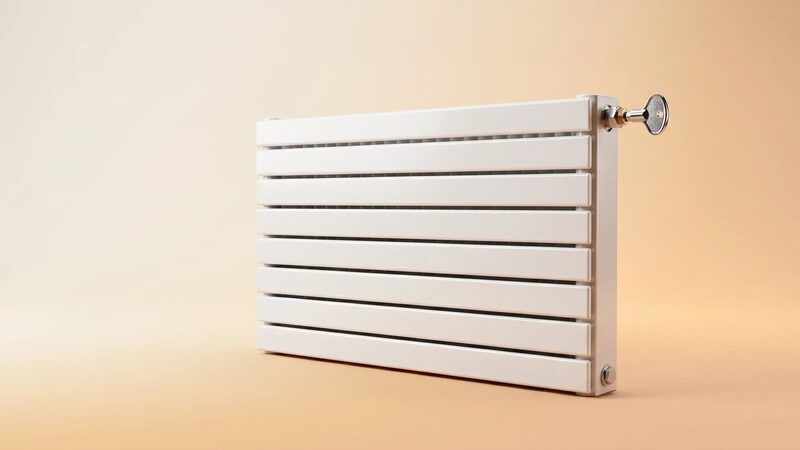
Most domestic radiators require a small butterfly-shaped key to bleed them2. Not all do. Some have a slot for a screwdriver; others require a spanner, which applies to some radiators and towel rails2. A flat-head screwdriver or a coin can be used if the bleed valve has a suitable slot9. One maker is specific about what not to use: a flat-head screwdriver can be used on slotted valves, but not a crosshead screwdriver or pliers11. Gloves are also listed as part of the kit6.
The bleed valve itself sits at the top or side of the radiator1. Older radiators have a slot with a square-shaped knob in the middle that takes a radiator key or equivalent4. Before starting, check which type of valve is fitted, because that determines whether a key or a screwdriver is the right tool1.
The steps: how to bleed a radiator in order
Work through the process step by step with the heating switched off and the radiator cool1. The sequence below follows the order given across the guidance.
- Turn the heating off and let it cool. Turn your heating off and allow time for it to cool down5. One maker suggests waiting approximately 1 hour, or 2 hours to be cautious, to ensure all radiators are cool6. An independent guide suggests 20 to 30 minutes3.
- Identify which radiators need it. With the system having run, feel each radiator for cold patches at the top before switching off4.
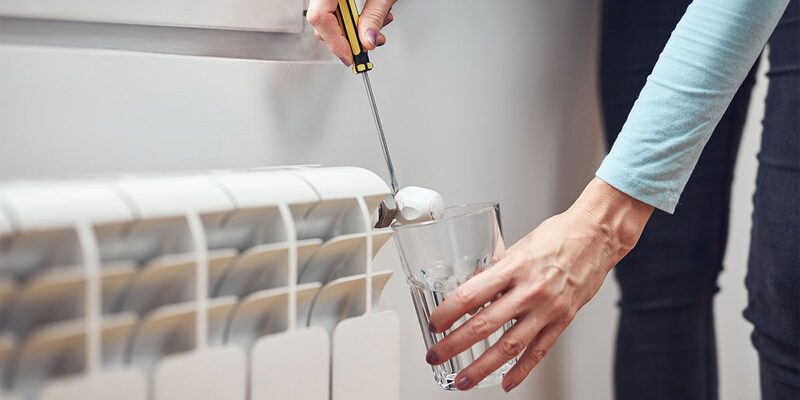
- Place a towel and container under the valve. Take a towel and a jug and place both underneath the bleed valve on the radiator5.
- Open the valve slowly, anti-clockwise. Insert the bleed key and turn it slowly, anti-clockwise5. Air will escape and you will hear a hissing noise5.
- Close the valve when water appears. Close the valve when water starts to come out5. That is the signal the air has gone.
- Check the boiler pressure. Check the boiler gauge for system pressure after bleeding and top up via the filling loop if it is too low4.
Thermostatic radiator valves should be completely open during the bleeding process, while the heating system itself needs to be off6. The whole job usually takes only a few minutes per radiator1.
Why the heating must be off and cool before you start
This is a safety rule, not a preference. Independent guidance is direct: it is vital to switch off the central heating and let it cool down completely before bleeding a radiator4. Maker guidance states that radiators must be cold and the central heating system turned off before bleeding9. Another maker puts the reason plainly: make sure the heating is turned off and the radiators are cool, otherwise there is a risk of burning yourself with hot water12.
The wait times differ between sources, and the difference is worth knowing. One maker advises approximately 1 hour after switching off, or 2 hours to be cautious6. An independent guide suggests 20 to 30 minutes3. Both are describing the same requirement, that the water in the radiator is no longer hot enough to scald; the longer figure is the more conservative of the two. A further maker states that the boiler should be off completely and have cooled down before bleeding14.
The same cooling principle applies to other work around radiators. Advice on fitting radiator reflector panels says to switch off the heating or turn off the radiators being worked on with the thermostatic radiator valve, and let radiators cool down before starting15.
Following the steps as described makes the job perfectly safe to do yourself6. Where the guidance is firm is on the sequence: cool first, then open the valve. Bleeding a hot radiator risks scalding from water that is at heating temperature, and it also gives a misleading reading of which parts of the radiator are cold, because the whole body is hot.
Which radiator to bleed first, and the order to work in
Order matters because air collects in a predictable way. Air will naturally rise as it is lighter than water, so bleed all radiators on the ground floor before heading upstairs in multi-storey properties6. The starting point is the radiator furthest from the boiler, which likely contains the most air5.
Independent guidance agrees on the starting point: the best way to bleed multiple radiators is to start with the radiator furthest away from the boiler4. Another independent guide specifies the one on the ground floor furthest from the boiler3. A maker's sequence is the fullest: start with the downstairs radiator furthest from the boiler, then work your way around the ground floor, then move to upper floors11.
In practice, that gives a working order:
- The ground floor radiator furthest from the boiler first3
- The remaining ground floor radiators, working back towards the boiler11
- Upper floor radiators afterwards6
The logic is that the furthest radiator sits at the end of the pipe run where air is most likely to accumulate, and clearing it first avoids pushing air around the system. Working floor by floor follows the same principle, since air rises.
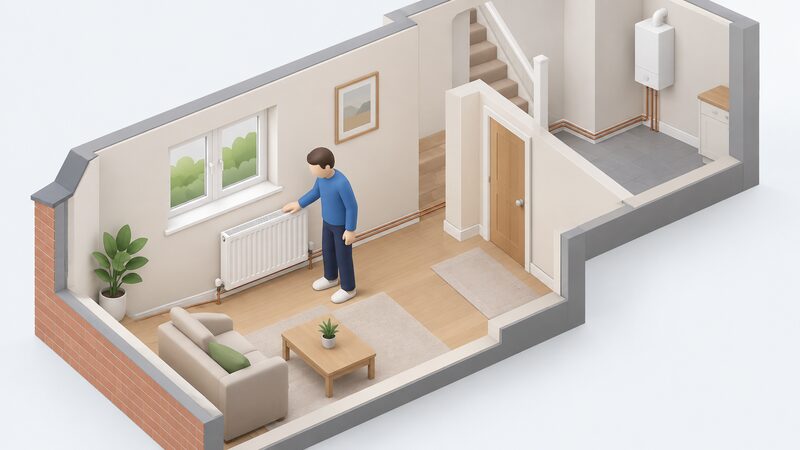
Checking boiler pressure afterwards: the 1 to 1.5 bar range
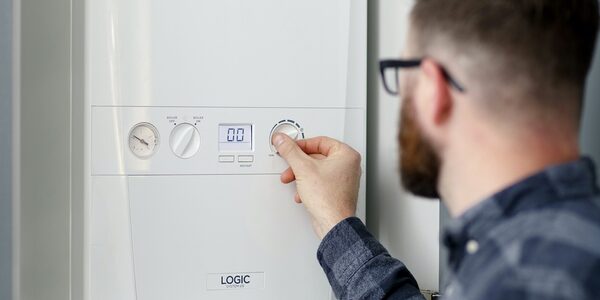
Bleeding removes air and a small amount of water, so the pressure gauge is the next thing to read. The most common target across the guidance is 1 to 1.5 bar on a cold system. One maker states the boiler should read between 1 to 1.5 bar of pressure when the central heating is cold6. Independent guidance gives the same figure for gas boilers16, and another independent source puts the aim at somewhere between 1 and 1.5 bar17. A maker's figure for combi and pressurised systems is usually between 1 and 1.5 bar, with the boiler manual as the final word11.
Two sources give a wider band. An independent guide describes the boiler's pressure indicator as normally between 1.0 and 2.0 bar, often highlighted green3. A maker states it should be between 1 and 2 bars before turning the heating back on12. These are not contradictions so much as different framings: the narrower 1 to 1.5 bar figure is the cold target, while the wider band describes the range a gauge may legitimately show.
Pressure behaves differently once the heating is running. When the heating is off, the gauge should read between 1 and 1.5 bar, and it should increase by around 0.5 bar when active, so it might sit closer to 2 bar while the system is hot7. That rise is normal expansion, not a fault.
| Condition | Typical gauge reading | Source |
|---|---|---|
| Cold system, target | 1 to 1.5 bar | Maker guidance6 |
| Cold system, target | 1 to 1.5 bar | Independent guidance16 |
| Normal range on the indicator | 1.0 to 2.0 bar, often green | Independent guidance3 |
| Before heating is switched back on | 1 to 2 bar | Maker guidance12 |
| Heating running | rises by around 0.5 bar | Maker guidance7 |
| Action needed | below 1 bar when cold | Maker guidance7 |
Low pressure has a cost but not a mechanical one. Low boiler pressure causes the boiler to work harder when trying to heat the home, meaning more energy is used, which could result in energy bills increasing; it will not damage the boiler or reduce its lifespan7. If pressure in a modern boiler gets too low, the system will typically shut down as a safety measure7.
Repressurising the system if bleeding drops the pressure
Topping up is normally a householder task. It normally involves turning two taps underneath the boiler, following the boiler's documentation2. Independent guidance describes the same action: if pressure is too low, top it up using the lever or tap on your boiler, known as the filling loop4. One maker describes getting pressure back to the 1.5 bar operating range by opening the filling loop valves14.
The sequence is straightforward: check the boiler pressure afterwards and follow the boiler manual if it needs re-pressurising1. The manual matters because filling arrangements differ between models, and the target figure for a combi or pressurised system is usually between 1 and 1.5 bar, with the manual as the authority11.
Bleeding can also be used in the other direction. Radiators can be bled to remove excess pressure in the system, and when this is done, air and some water are removed14. An independent guide gives a target for that use: keep bleeding one or more radiators until the pressure gauge is around the 1.2 bar, or in the green zone18. For combi boilers reading higher than 2 bar, bleeding the radiators can help relieve pressure and get it back to the right level19.
Pressure loss has a short list of causes. It can happen if radiators have recently been bled and the pressure needs resetting, and it can also happen when the heating has been off for a very long time, or because of a leak19. A leak is the one that needs attention rather than a top-up.
If you would rather follow the filling loop procedure in detail, how to repressurise a boiler covers it step by step, and what the ideal boiler pressure is sets out the target ranges.
When bleeding is not the fix: sludge, power flushes and other causes
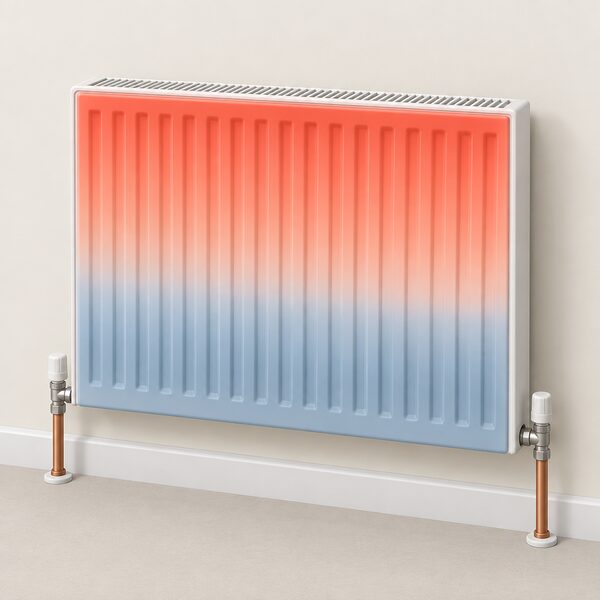
Bleeding addresses air. It does not address debris, and the two produce opposite temperature patterns. If a radiator is hot at the top but cold at the bottom, or has cold patches, there could be a build-up of sludge, which bleeding might not fix11. Independent guidance is explicit: if the radiator is hot at the top and cold at the bottom, the problem might be sludge or debris in the system, which can be flushed out by a professional1. Another independent source states that radiators hot at the top and cold at the bottom will need a power flush20.
The distinction is worth holding on to, because the wrong remedy wastes effort. Cold at the top and hot at the bottom means there is likely to be a build-up of air in the system11. Hot at the top and cold at the bottom means sludge1.
There are other reasons to stop and call someone. If radiators are still not heating properly after bleeding, if sludge build-up is suspected because the radiator is cold at the bottom, or if boiler pressure keeps dropping, that is professional territory9. Independent guidance adds a frequency test: concern is warranted if a radiator has to be bled one or more times a month, or if bleeding has no effect at all4. If heating issues persist after bleeding, check that boiler pressure has not dropped, and if pressure is normal but the radiators still do not work properly, call in a professional1.
Sludge is a system-wide condition rather than a radiator-by-radiator one, and it is one of the reasons water treatment and a filter matter in a central heating system: not having these causes long term problems21. For a household, the practical point is that repeated bleeding is a symptom, not a maintenance routine. Air that keeps returning is telling you something about the system.
How often to bleed radiators and other maintenance
Once a year is the baseline most sources settle on, with the timing tied to the start of the heating season. Independent guidance suggests about once a year, ideally before winter when the heating is used more regularly1. Another independent guide says at least once a year, but preferably every few months4. A maker advises at least once a year, ideally before the colder months set in9, and another maker says once a year, with the ideal time being when the central heating is turned back on after the summer11. One independent source simply states: bleed your radiators once a year to remove air pockets22.
Other sources give longer intervals. Radiators need bleeding every couple of years to remove trapped air bubbles, according to one independent guide23, and every few years according to another3. One independent source puts it at a couple of times a year, but notes it is worth checking before the cold hits24. The spread reflects the fact that frequency depends on the system: a sealed system that is properly maintained holds its air content better than one that is frequently topped up.
The practical trigger is performance rather than the calendar. Check radiators at least once a year to see if they need bleeding19, and bleed any radiators that are not heating evenly, since trapped air may be to blame25. Bleeding radiators often to remove air pockets will in turn improve heating system efficiency26.
Other maintenance around the radiator is worth pairing with the annual check:
- Dust behind radiators, even if they look clean, to help them heat up quicker and distribute warmth more effectively27.
- Keep radiators completely unblocked so they radiate heat into rooms more easily24.
- Move furniture away from radiators, turn radiators off in unused rooms, and consider thermostatic valves in the rooms used most28.
- Keep radiators clear of clutter, because when a radiator is blocked by clothes and furniture the warm air cannot circulate and the radiator works harder to heat the room26.
Radiator reflector panels behind radiators on external walls are another low-cost measure, at around £8-12 per radiator15.
Where bleeding sits in a household's energy independence
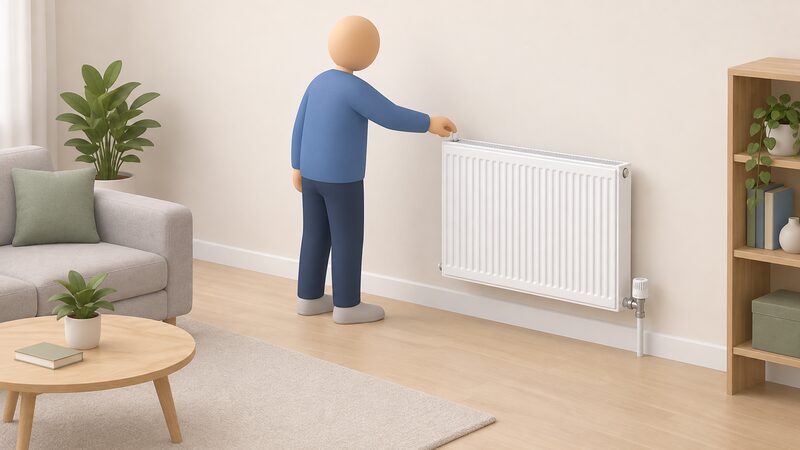
Bleeding a radiator is a maintenance task, not an energy source, and it is worth being precise about what it changes. It restores even heat output from emitters the household already owns, using a tool that costs very little and a procedure that takes minutes per radiator1. It removes a cause of corrosion inside the system, since the oxygen in trapped air causes corrosion which can result in leaking and debris6. And it keeps the pressure side of the system in view, because the gauge reading after bleeding is the household's own check on whether the sealed circuit is holding6.
What remains dependent is everything upstream. The heat still comes from a boiler or a heat pump, the system still needs a fuel or electricity supply, and the pressure top-up still draws on mains water. Bleeding does not reduce reliance on a supplier or a grid.
There is one forward-looking point worth noting for households thinking about a heat pump. Radiator output ratings in catalogues are based on ΔT = 50°C assumptions, and for a low-temperature heat pump design with a flow of 45°C the effective ΔT can be much lower, given as ΔT ≈ 22.5°C8. Radiators that were fine when connected to a boiler running at 75°C may not be big enough at 45°C21. Bigger radiators are not mandatory, but they could hugely improve how well a heat pump heats a home, and bigger means more surface area, such as a double or triple panel radiator28. Radiators are also zero-rated for VAT if installed alongside a heat pump27.
For the household, the sequence is sensible: keep the existing emitters working properly through annual bleeding and clearance, and treat repeated air or pressure loss as a signal to investigate the system rather than to bleed again. If the boiler itself is losing pressure, why a boiler loses pressure and how to reset a boiler after a lockout cover the adjacent problems, and how often radiators should be bled goes deeper on frequency.
Sources28 cited
- How to bleed a radiator, Smart Energy GB, 2026-08-17
- How to bleed a radiator, OVO Energy, 2025-10-24
- How to bleed your radiators, Which?, 2025-09-16
- How to bleed a radiator, Uswitch, 2026-09-04
- How to bleed a radiator, Viessmann, 2022-08-24
- How to bleed a radiator, Vaillant, 2026
- Why is my boiler losing pressure, Ideal Heating, 2026-09-17
- Radiators, IDM Energie, 2026-07-06
- How to bleed a radiator system, Fuse Energy, 2026-06-23
- Insulation: why you should still think about it during summer, Which?, 2025-04-03
- How to bleed a radiator: a guide to fixing cold radiators, Ideal Heating, 2025-10-24
- Ecotricity explains how to bleed a radiator, Ecotricity, 2024-11-20
- Home energy efficiency: the basics, ivie, 2025-02-17
- What to do if your boiler pressure is too high, Viessmann, 2022-03-24
- Radiator reflector panels, Energy Saving Trust, 2025-10-31
- Getting your broken boiler repaired or replaced, Citizens Advice, 2024-08-16
- What pressure should your boiler be?, Uswitch, 2026-09-20
- What should your boiler pressure be?, Which?, 2024-11-13
- Boiler maintenance, Uswitch, 2026-09-03
- What is central heating sludge, Baxi, 2026-09-17
- How to ensure a heat pump runs efficiently, Energy Saving Trust, 2026-05-19
- Cold weather energy saving: your top tips, Energy Saving Trust, 2025-09-22
- How to keep your boiler working in cold weather, Which?, 2025-12-11
- Simple tips for a greener Easter, Home Energy Scotland, 2026-03
- Draught busting, Low Carbon Hub, 2026-08-05
- Reduce your heating bill tips, ivie, 2026-09-20
- How to get homes more ready for heat pumps, Nesta, 2026-02-12
- Heat pump fact check, Energy Saving Trust, 2026-07-01
 Heating Control FaultsWhy is my heating on when the thermostat says it is off, or why does one radiator stay cold?
 System Design and BalancingWhy do some radiators stay cold while others get too hot, and what does balancing actually do?
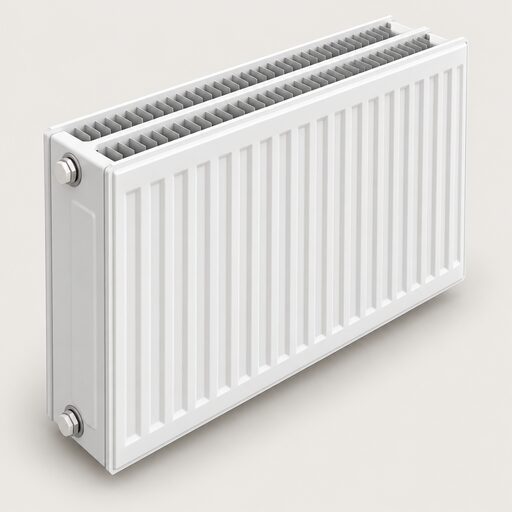 Radiators and Heat EmittersA radiator's real heat output depends on how hot the water inside it is compared with the room, so the figure in a catalogue often overstates what you will actually get.
 Radiators and EmittersWill your radiators still heat the house properly with a heat pump?
 Thaw a Frozen Condensate PipeHow to identify a frozen condensate as the cause of a boiler lockout, the safe way to thaw the external pipe and how to restart the boiler afterwards.
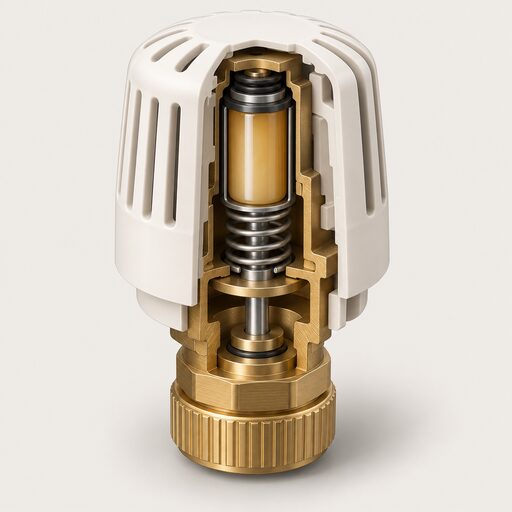 Thermostatic Radiator ValvesHow a thermostatic radiator valve senses room air temperature and throttles flow to a single radiator, what the numbered settings mean, where TRVs should and should not be fitted, and what the Building Regulations require across the UK.